If you’re using iCloud+, you can use a custom domain name for “Free.” (Assuming you own a custom domain and purchased an iCloud+ storage plan for $10 per month).
Personally, I wouldn’t purchase the iCloud+ storage plan just for the custom email. Suppose I just wanted an email with a custom domain. In that case, I’d sign up for Google’s GSuite for $6 per month or follow my guide on setting up Gmail with a custom domain for free (free if you already own domain + hosting).
Let’s go over how to set up a custom domain with iCloud+.
How To Set Up iCloud with a Custom Domain
1) Buy a Domain Name
If you don’t already own one (I recommend NameCheap).
2) Purchase iCloud+
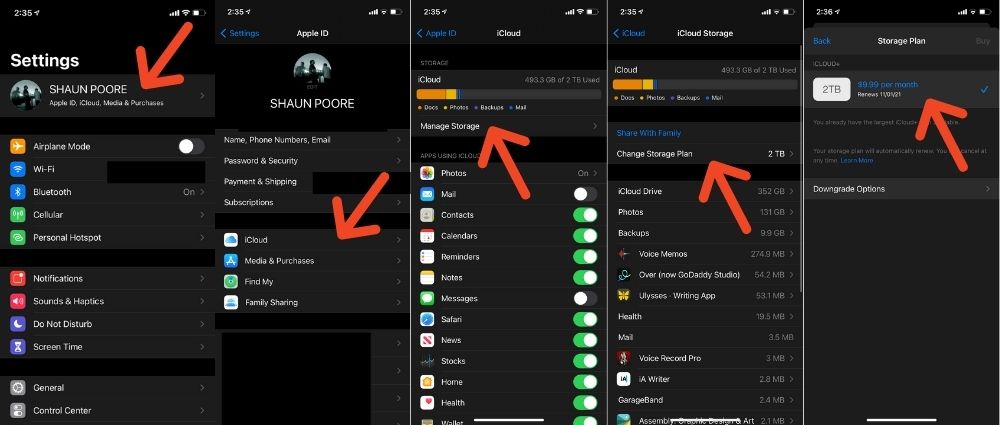
On your iPhone go to Settings -> Click Your Name -> iCloud -> Manage Storage -> Change Storage Plan -> iCloud+.
3) Log into iCloud Beta
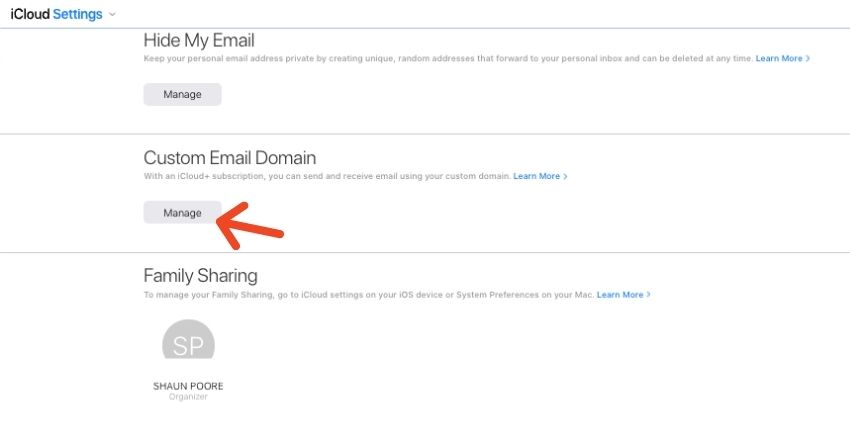
Custom Domains are currently a beta feature of iCloud. Log in to beta.icloud.com/settings/ and scroll down until you see the manage custom domain email button. Click it.
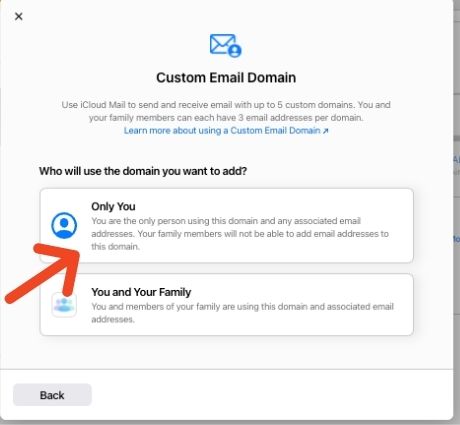
4) Select “Only You” When Asked Who Will Use This Domain.
Unless you’re running a business with your family (which I wouldn’t recommend), don’t share your iCloud account with them. Click “Only You.”
5) Fill Out Your Domain’s Information
First, you’ll get prompted for which domain you’re going to use to send email from. Simply fill that out.
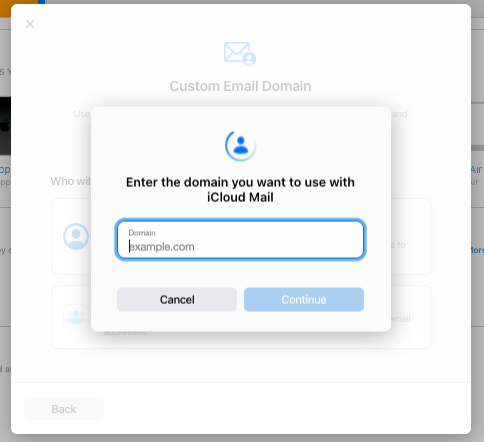
Next, you’re going to get a popup asking you to enter your domain’s info. There are a couple tricky parts here. First, click “skip,” where it’s asking you to verify an email @yourdomain.com (you can’t verify an email address that doesn’t exist yet).
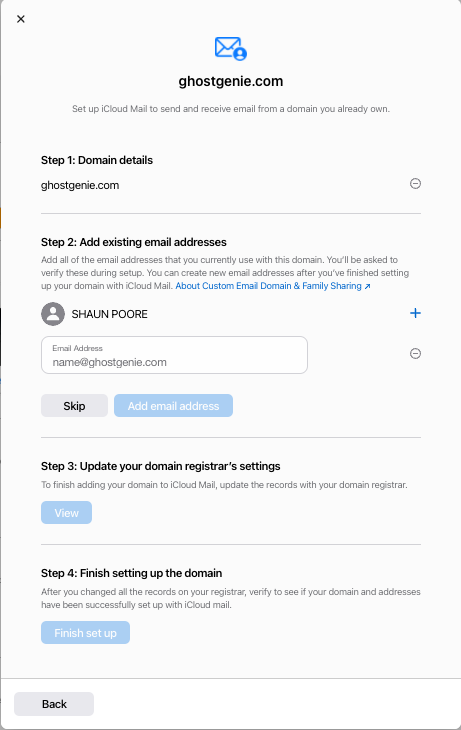
Then you’re going to need to log into your domain’s registrar to get part 3 filled out. But, just follow their instructions. All you need to do is change a few records.
6. You’re Done!
You Can Now Send Emails From Your iCloud Account With a Custom Domain. Amazing!
